
Become completely immersed

PlayStation VR's Cinematic Mode is basically everything you would see in a 'normal' PlayStation 4 experience but seen through your headset. Regular, non-VR adapted games and apps can still be viewed through the headset in this mode, which is good since there's a lot of times you'll need to access things that aren't specifically VR.
It's like looking at a big cinema screen, but you can change how big the screen is for a more pleasant experience that is adapted to your taste. So, whether you want small, medium, or large, here's how you can change your screen to fit your VR experience.
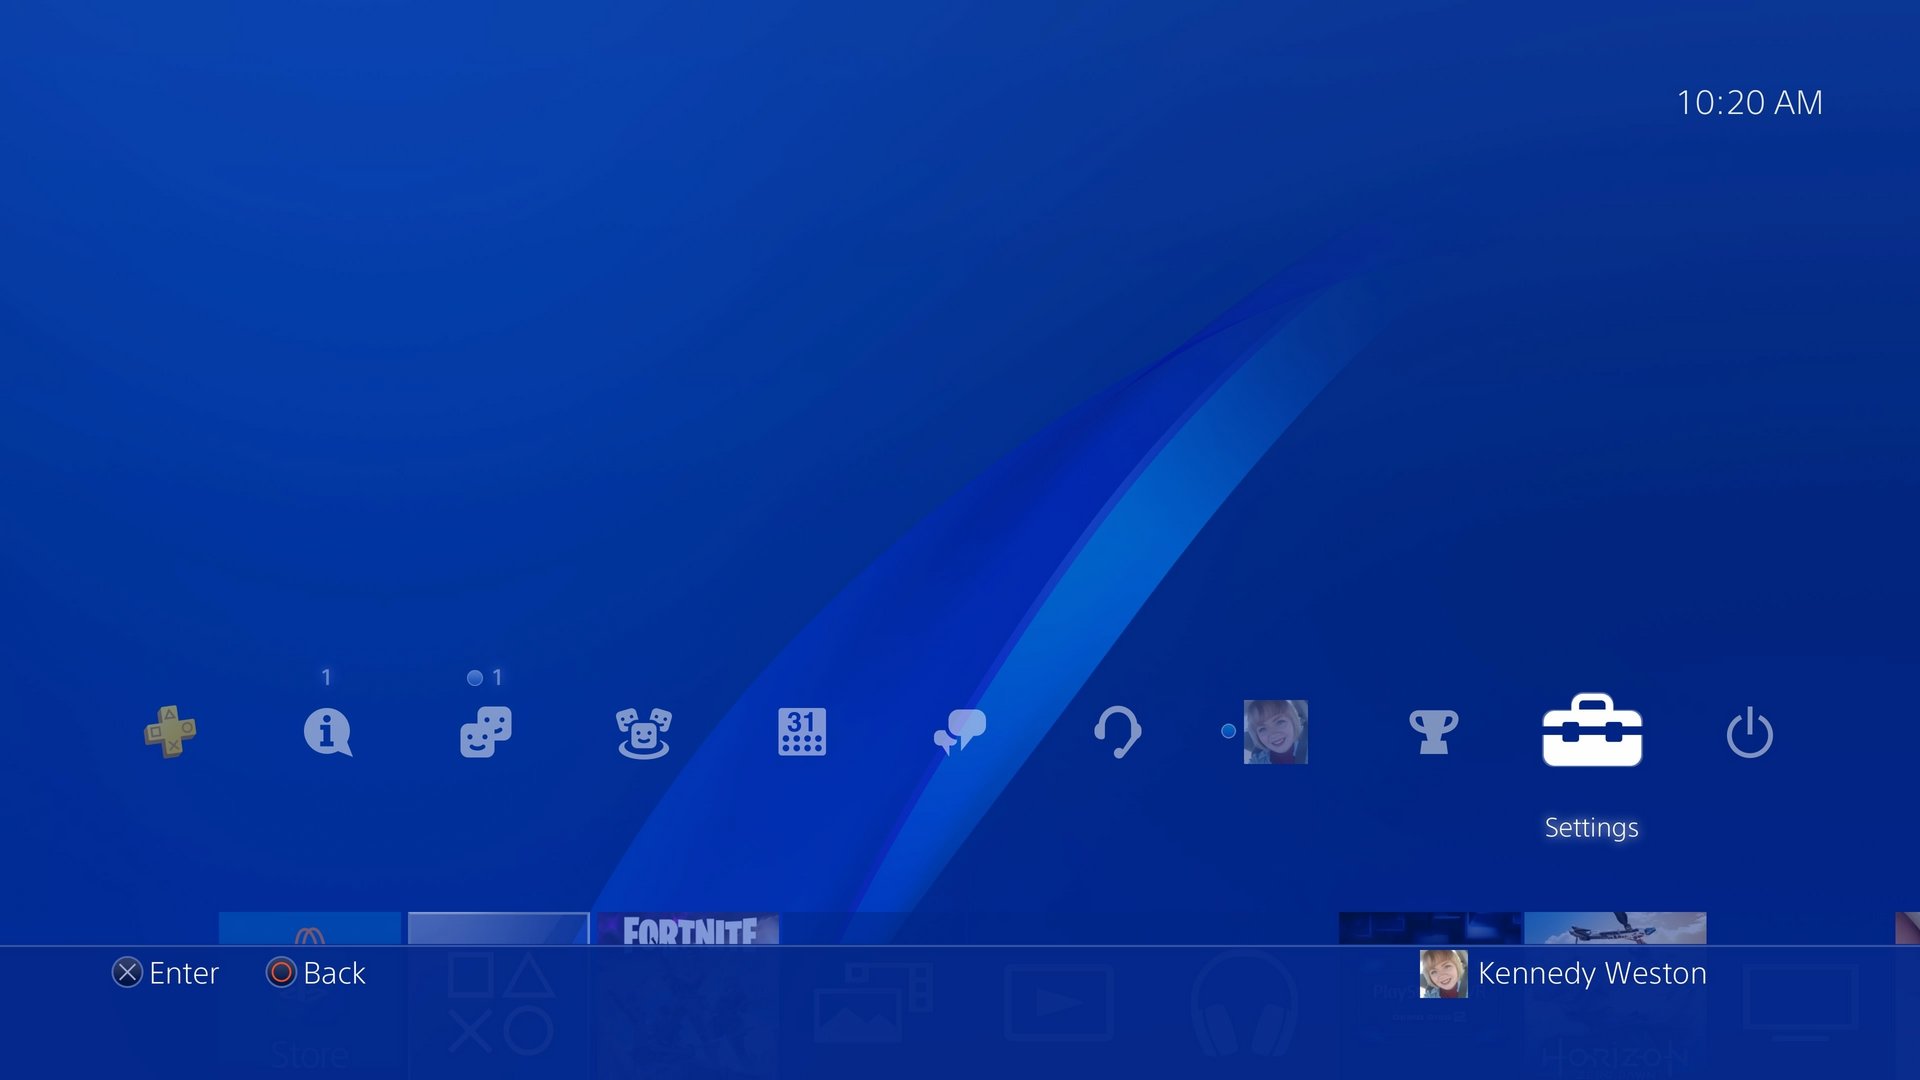
- Head to the Settings menu on the far right of the main menu.
- Then scroll down to Devices, which is after Video Playback Settings.

- Towards the bottom of the Devices screen, you'll want to select PlayStation VR.

- Second from the top, after Screen Brightness, you'll click Screen Size.

- You have a choice of three different options now, conveniently labeled Small, Medium and Large.

Choose your preferred size and watch the screen change before your eyes!
We've found that the stock medium setting has the best representation of how you'd see the PlayStation 4 on a regular screen. Large is, well, large and basically fills your entire field of view inside the headset. Remember that it's like looking at a large screen, so it's flat and harder to see everything at a glance this way.
If you chose small you get a smaller display but it will follow your head movements and stay central inside the headset. For the other modes, you have to hold down the options button to reset the cinematic mode screen position.
What is the setting you enjoy the most while in the Cinematic Mode?
Let us know in the comments what your thoughts are!

Post a Comment