

Whether you're pulling your brilliant new Chromebook out of the box, were handed down a Chromebook from a parent or sibling, or you just power washed yours to start fresh, setting up a Chromebook is drop-dead easy. You can probably do it in the space of a commercial break while watching your favorite TV show, and so long as you're somewhere with reliable Wi-Fi, you can do it basically anywhere. So when you're under some blankets in bed or sitting in the office with your newly-issued work laptop, here's how to set up your Chromebook.
How to set up Chromebook
Before you get started, your Chromebook probably came from the factory with a mostly full battery. Still, it's probably a good idea to plug your Chromebook in and fully charge it before beginning your setup.
- Open the lid of your Chromebook to turn it on.
- Tap You if setting the Chromebook up for yourself or Your child if you intend to.
-
Enter the email address of your Google account. If setting up a child's Chromebook, either sign them into their Google account or create a Google account for them.
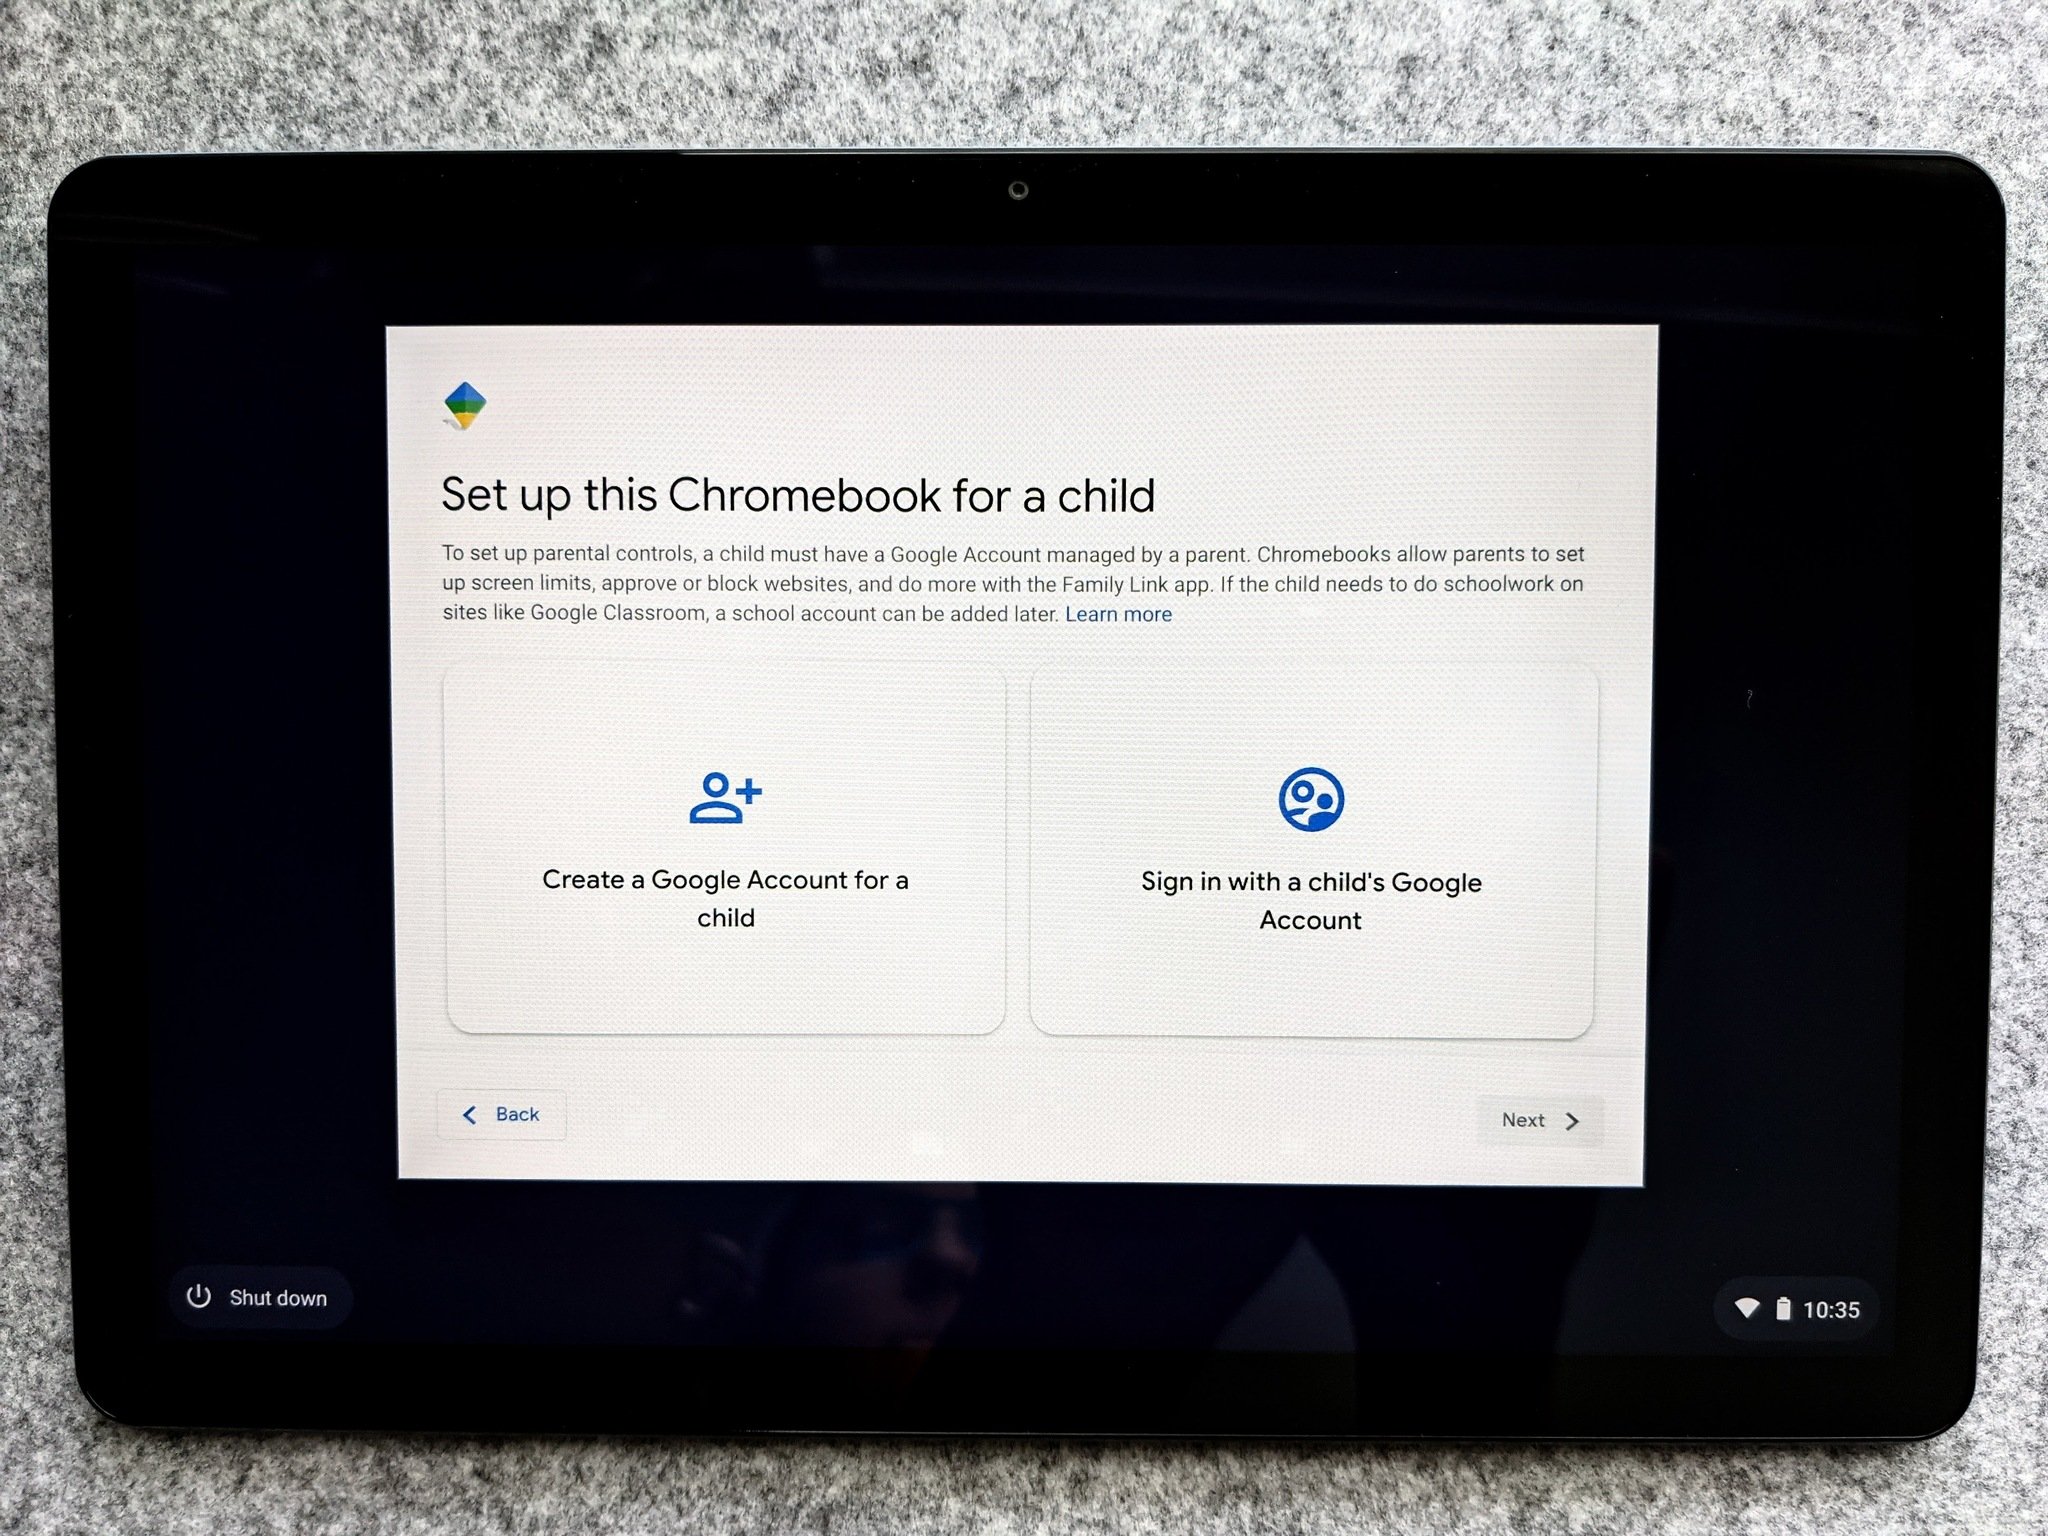
- Tap Next.
- Enter your Google account's password.
- Tap Next.
- If your Google account has a two-factor authentication, use your verification code or another verification method.
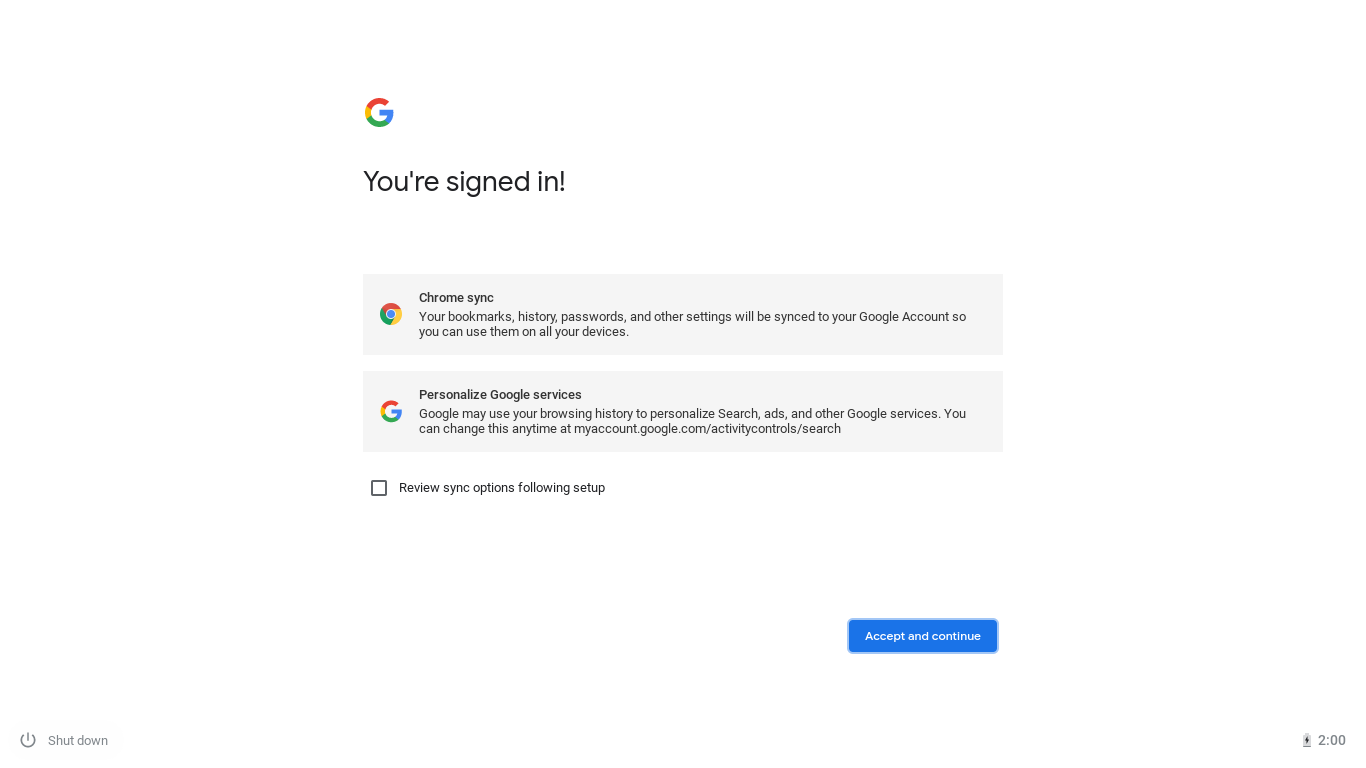
- Once signed in, you're given notice of what automatically syncs on your Chromebook. If you want to review these syncing options, check Review sync options following setup.
-
Tap Accept and continue.
-
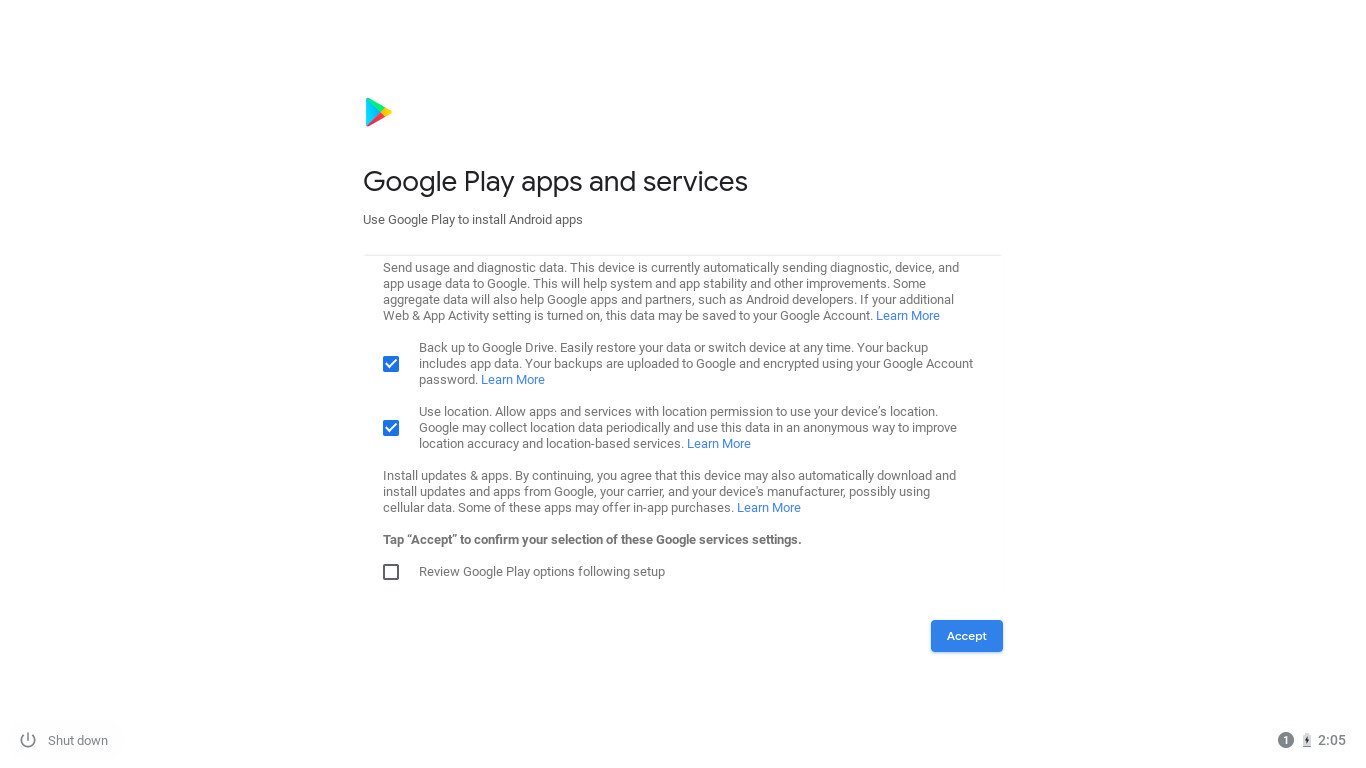
You'll be given the Google Play terms of service to read. Below is the checkbox to disable Google Drive backups, but I really wouldn't recommend turning that off. Tap More or scroll down to the rest of the options.

- You can uncheck Use location if you want to prevent apps and services from using your device's location, but again, I don't recommend turning this off.
- Check Review your Google Play options following setup if you want to check over your permissions.
-
Tap Accept.
-
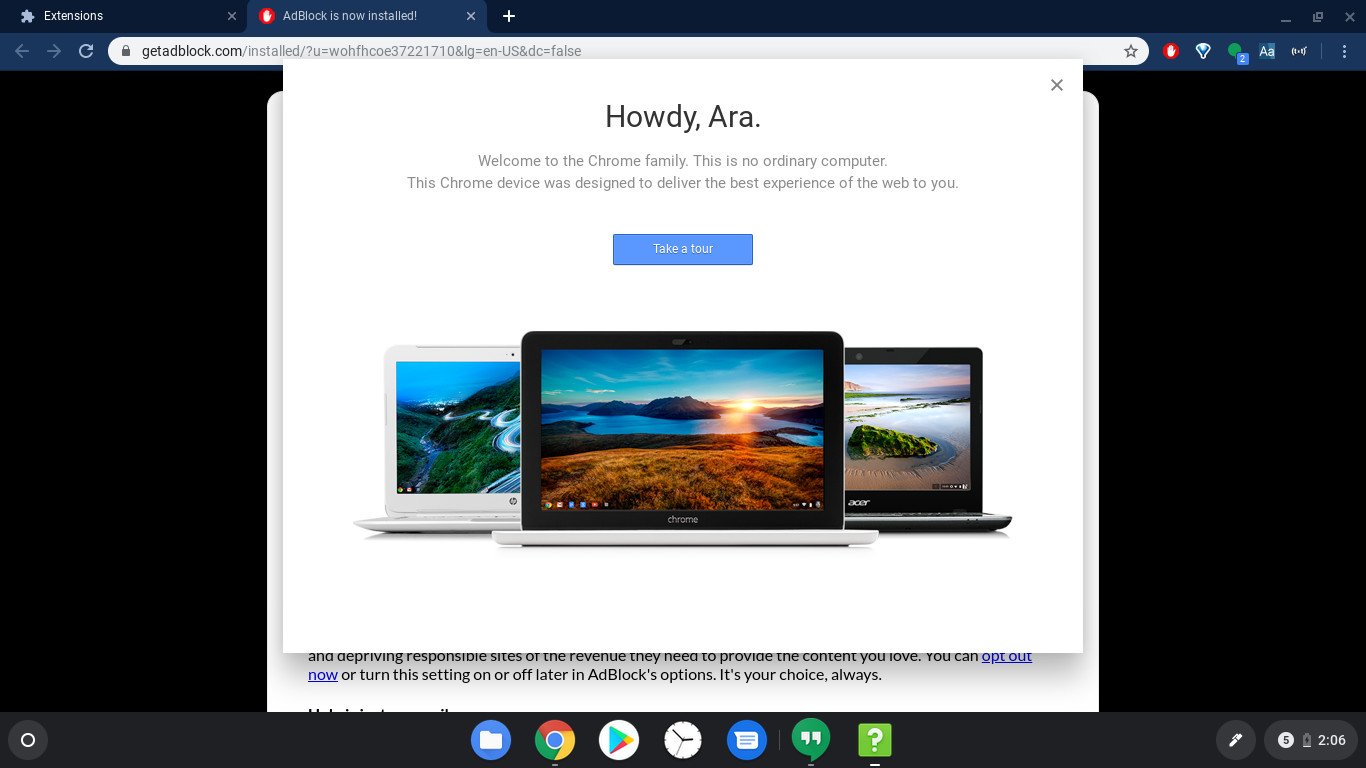
This takes care of the initial system setup, but we're not done quite yet. You can choose to Take a tour if you want to be shown where everything is. If not, you can tap the X in the window's top right corner.
-
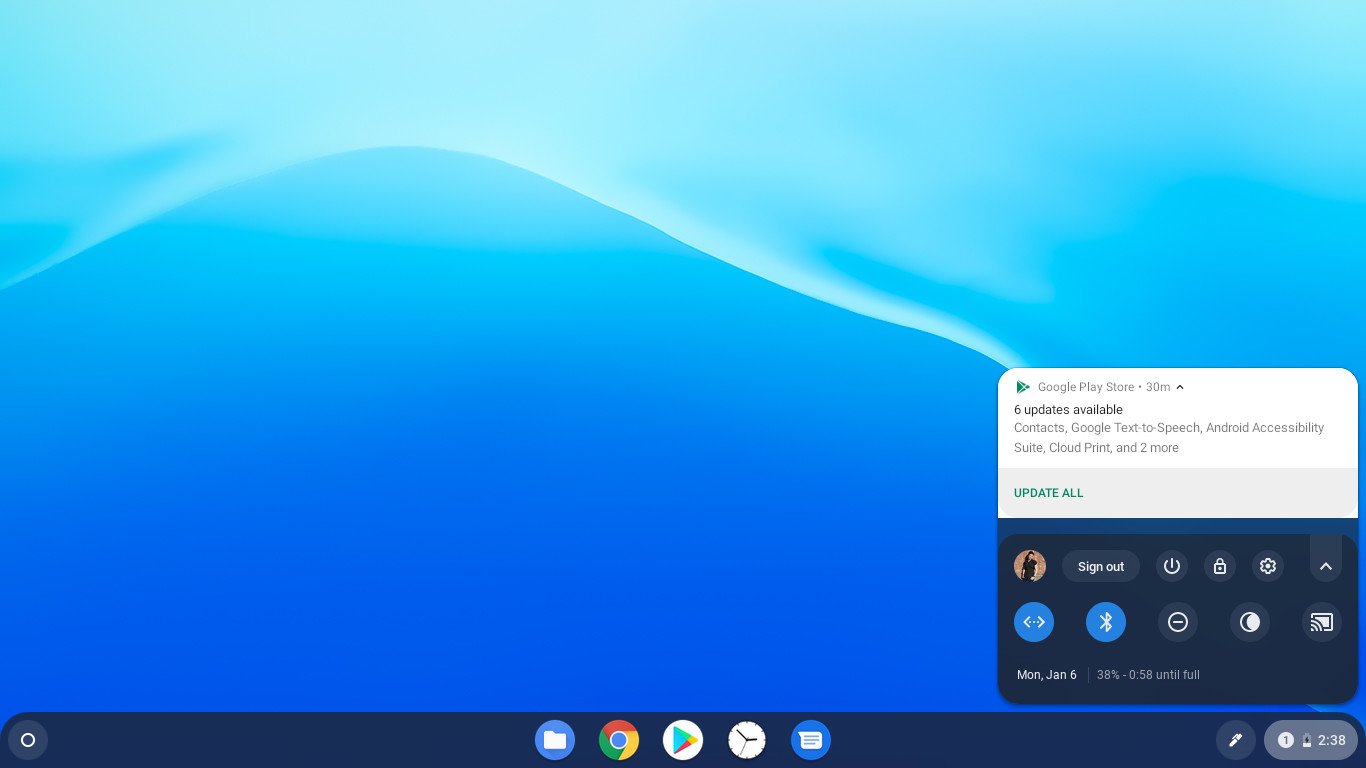
If you already have extensions or a theme installed on Google Chrome on your other computers, they will install automatically. However, the Android apps pre-installed on your Chromebook will also need updates, so tap the time in the bottom right corner.
-
Tap Update all in the notification about app updates.
-
Google Play will open and begin updating apps. Tap the back button in the top left corner to return to the home tab.

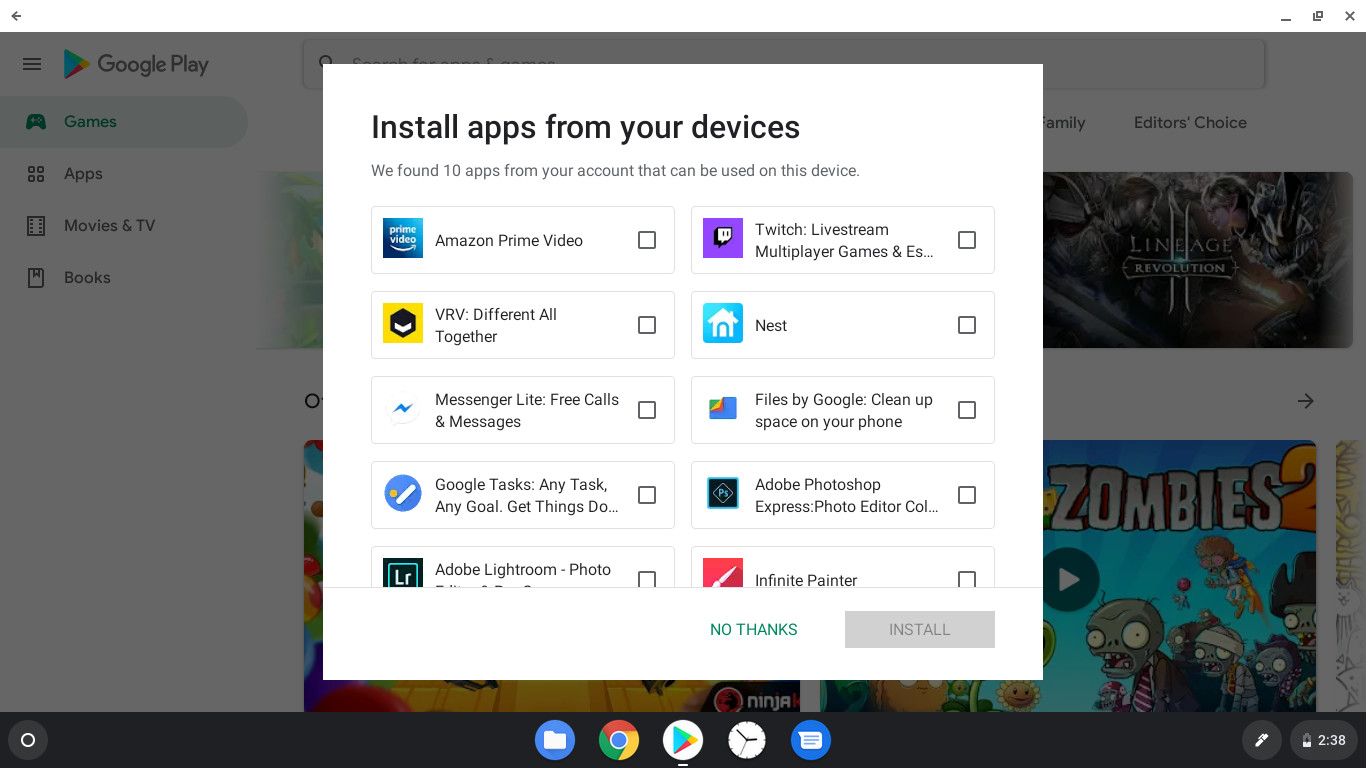
- Once on the home tab, a popup will appear suggesting apps to download on your Chromebook. Tap the checkbox next to the apps you want to install.
-
Once you've selected the apps you want, tap Install.
Once the apps and extensions are installed, you're pretty much ready to go. You'll need to log into your favorite websites: Twitter, Amazon, Reddit, and the like — and set a new wallpaper, maybe even pair an Android phone for Smart Lock so you can keep your Chromebook unlocked and answer text messages from it. If this is your first Chromebook, I also recommend familiarizing yourself with these awesome keyboard shortcuts, especially the Alt + [ or ] for split-screening windows. I use it dozens of times a week.
If you need further help settling into your new laptop, I've compiled a handy-dandy post-setup Chromebook checklist for useful things like customizing your dock, the single most useful Chrome extension you'll ever install, and how to help keep your Chromebook from blinding you too much at night.
Protect your investment
Your new Chromebook is probably pretty great all on its own, but you can help protect it and enhance your experience with the help of a few key accessories, especially one of the best mice for Chromebooks and a nicely protective sleeve.
Logitech Pebble M350
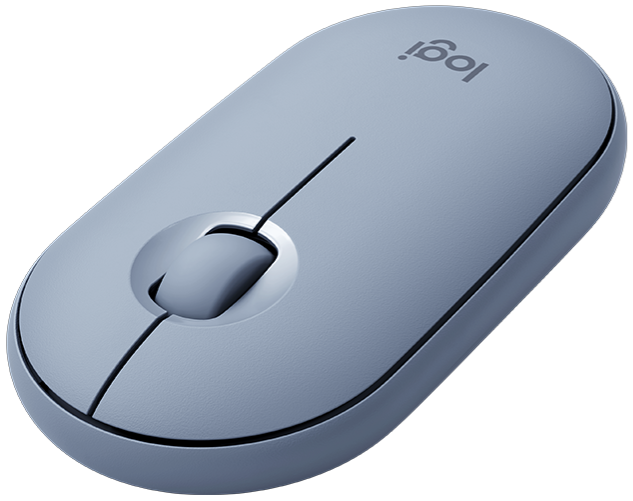
You can either use this slim wireless mouse with Bluetooth or the included wireless receiver, and you can get it in blue, white, black, or pink. Best of all, the wireless receiver is easy to grab under the magnetic top plate.
$25 at Amazon $24 at Best Buy $25 at B&H
MOSISO Laptop Sleeve with Accessory Case
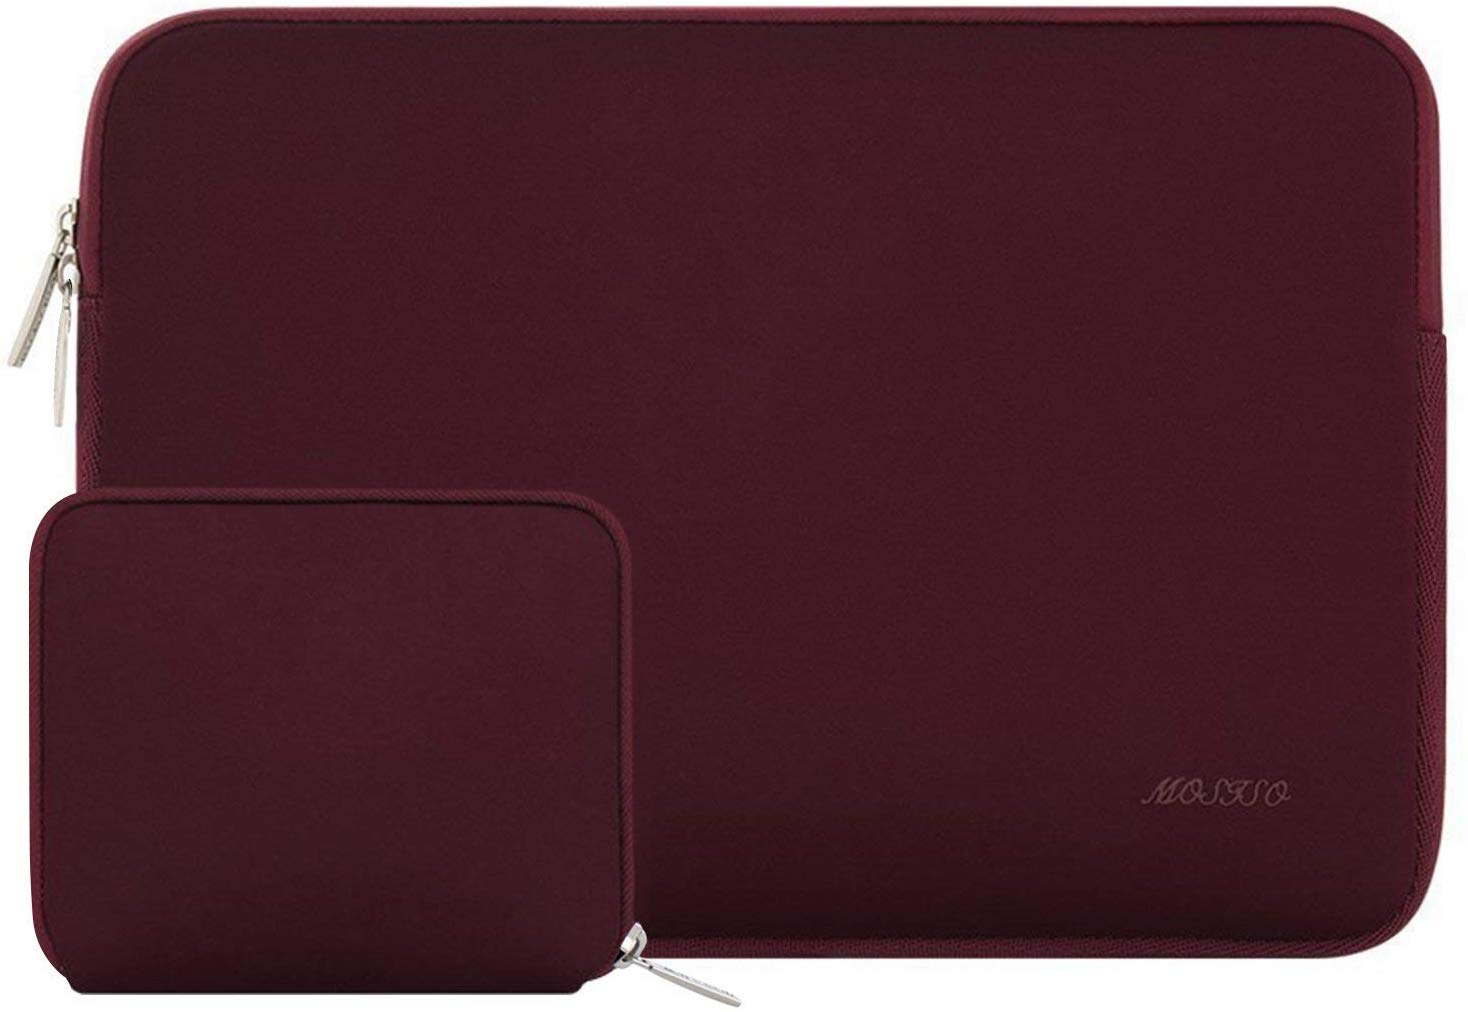
With size options from 11.6 to 16 inches, these sleeves come with a separate cable pouch in a dozen colors and even some patterns. This allows the laptop to slide more comfortably in and out of your backpack while your accessories stay more secure.
Uni USB-C Hub with 4ft Cord
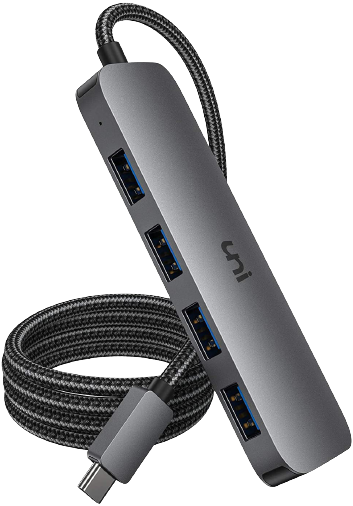
This affordable, long-cabled hub is a great, inexpensive way to easily connect a wired mouse, keyboard, and USB mic to your Chromebook without surrounding the laptop with cables. Instead, think of it as a mini docking station without charging.
Post a Comment