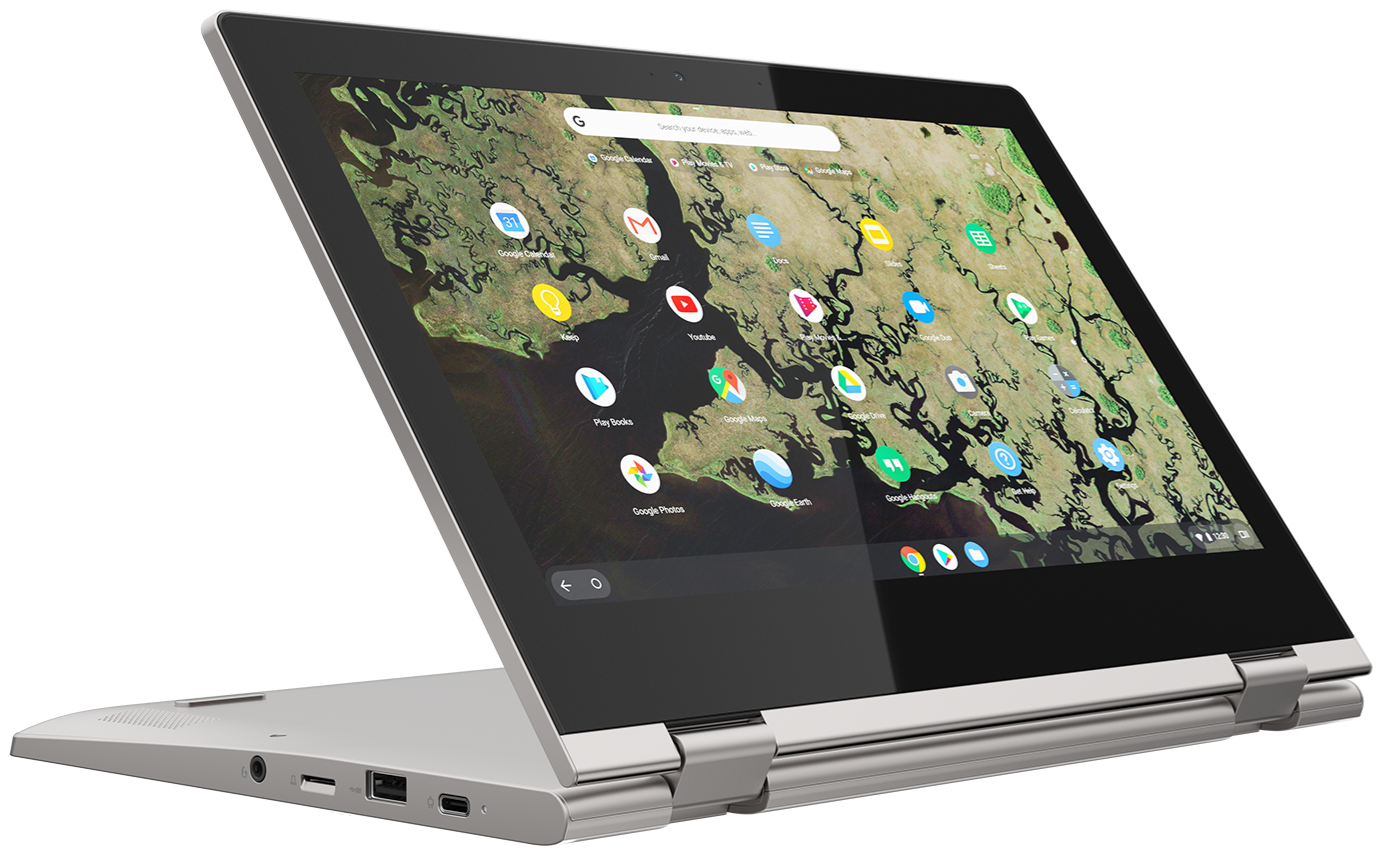
Chromebooks have become so much more than the basic internet machine from years back. Since it gained access to Google Play apps, these lightweight computers have become super useful. Now it's time to become familiar with how to organize those apps you have downloaded.
How to organize your Chromebook apps
Having the ability to download nearly any app from the Google Play Store is great, but organizing those apps makes it easier to find them.
- Open the app drawer by clicking the circle in the lower-left.
-
Then click on the upward chevron to expand and see all of your installed apps.
- To move the apps into the order you want, click and drag the app icon to where you want it to appear in the app list then release.
- You can put apps into folders as well by dragging the app icon on top of another app to create a folder.
Now that you know how to move apps to where you want as well as create folders for your apps, you'll be able to find just what you want so much faster.
Chromebooks have had access to apps in the form of Chrome Apps, but Google has begun phasing those out. Although, now that more and more Chromebooks have gotten access to the full Google Play Store — even if not all Android apps are correctly formatted for a Chromebook — Chrome Apps aren't necessary any longer.
How to manage permissions for Chromebook apps
Not all apps need access to your contacts, location, etc., even if it requests those permissions. Let's go through how to control what information your apps can get access to.
- To access an app's permission settings right-click (two-finger tap on the trackpad) on the app you want to change permissions for and click app info.
- You can also click settings, apps, then manage apps to see all of your apps.
- Now that you have found the app you want to edit permissions for, you can see what it does and doesn't have access to.
-
Click the toggle next to each permission to enable or disable that option.
- From this screen, you can also access more settings and permissions to see that data usage, storage used, as well as uninstall the app if you choose.
Now, you can have full control over all of your apps. You will be able to disable access to various parts of your account or physical hardware per app if you want or turn on/off access when you choose.
How to uninstall apps from your Chromebook
Whether you have an app and no longer use it or downloaded one to find that it wasn't what you wanted, it's good to know how to remove that app — here's how.
- To uninstall an app, click in the lower-right corner where the clock is, then click the gear icon for settings.
- Once in the settings menu, select apps along the left side of the window.
-
Now, towards the top of the window select manage apps.
- Here you can scroll to find the app you want to remove, or type the app name in the search box.
- Once you have found the app to remove, select it. In the upper right of the window, click on uninstall.
The shortcut to uninstall is to find the app you want to remove on your desktop or the app-drawn and then right-click (two-finger tap on the trackpad) on the app then click uninstall in the pop-up.
Our top equipment picks
Chromebooks can be as much or as little as you want. From being the perfect computer for students to a great work from home option, a Chromebook more than likely can get the job done. Part of these device's wide-range of uses is in the available apps — and there are a lot. So now that you know how to organize and manage how your apps are laid out and what each app has access to, you'll be able to get your tasks done in a flash.
Get it done
Lenovo Chromebook C340 (11.6-inch)
From $419 at Amazon From $299 at Best Buy
By touch or by mouse
With both USB A and USB C ports available, you can plug in your older and newer devices with ease. The inclusion of a touchscreen option just adds to the flexibility this computer offers. Sporting up to 10-hours of battery life, you'll be able to work into the night, especially with the backlit keyboard.


Post a Comment