In previous years, Chrome OS lacked a built-in screen recorder, which forced users like us to go download third-party extensions or Android apps to use it. But it was clunky, a lot of steps, and it didn't always work well, especially when done through Android apps. Thankfully, 2021 and Chrome OS 89 brought us a revamped screen capture menu, which took partial screenshots easier and also added in a native screen recorder. (Hallelujah!)
This means that recording your best Chromebook's screen is easier than ever because it uses the same buttons and menu as taking a screenshot on Chrome OS and gives us the option to record a single window or a custom area of the screen in addition to the good old-fashioned fullscreen recording. Here's how to start and stop a screen recording on a Chromebook.
How to record the screen on a Chromebook
If you want to take a video rather than a still screenshot, that's easy enough to do on a Chromebook now that Chrome OS 89 has rolled out to everyone. Before Chrome OS 89, we had to rely on third-party Chrome extensions for screen recording, but now we've got it built-in.
-
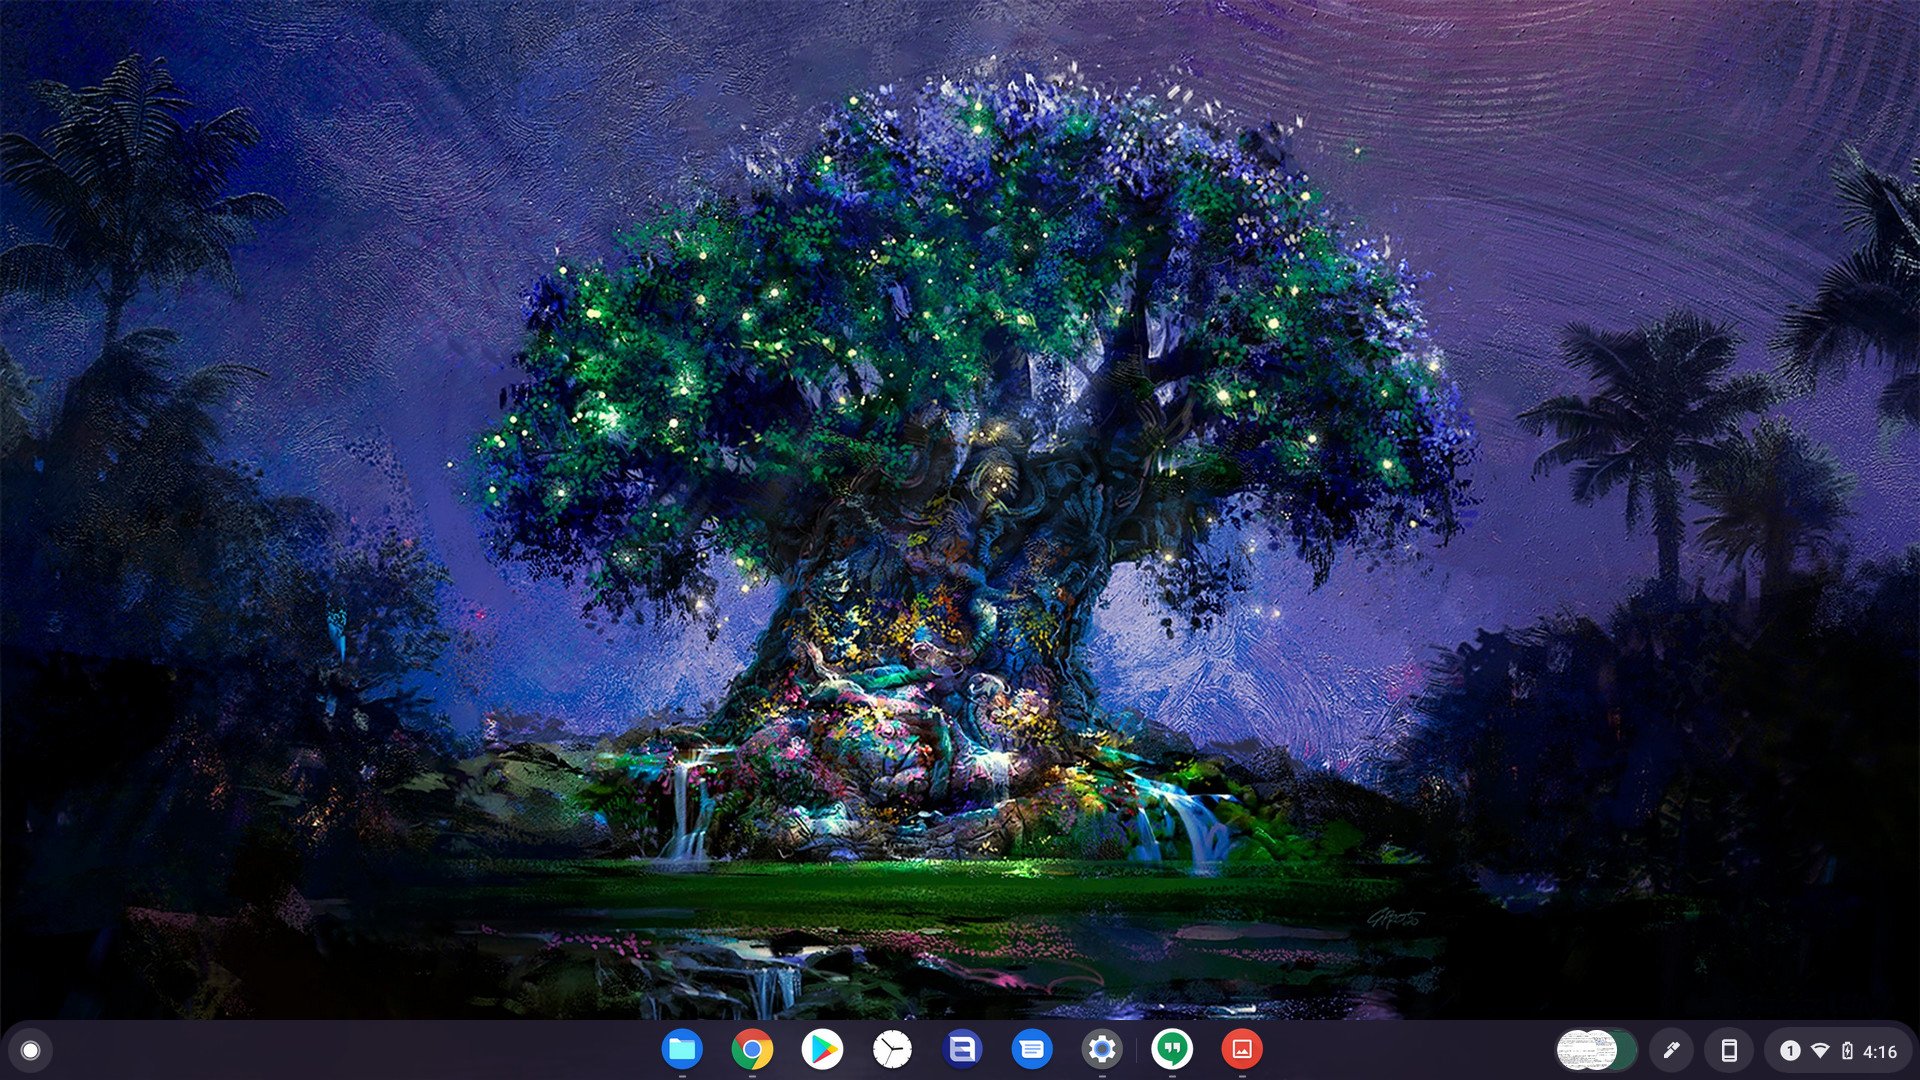
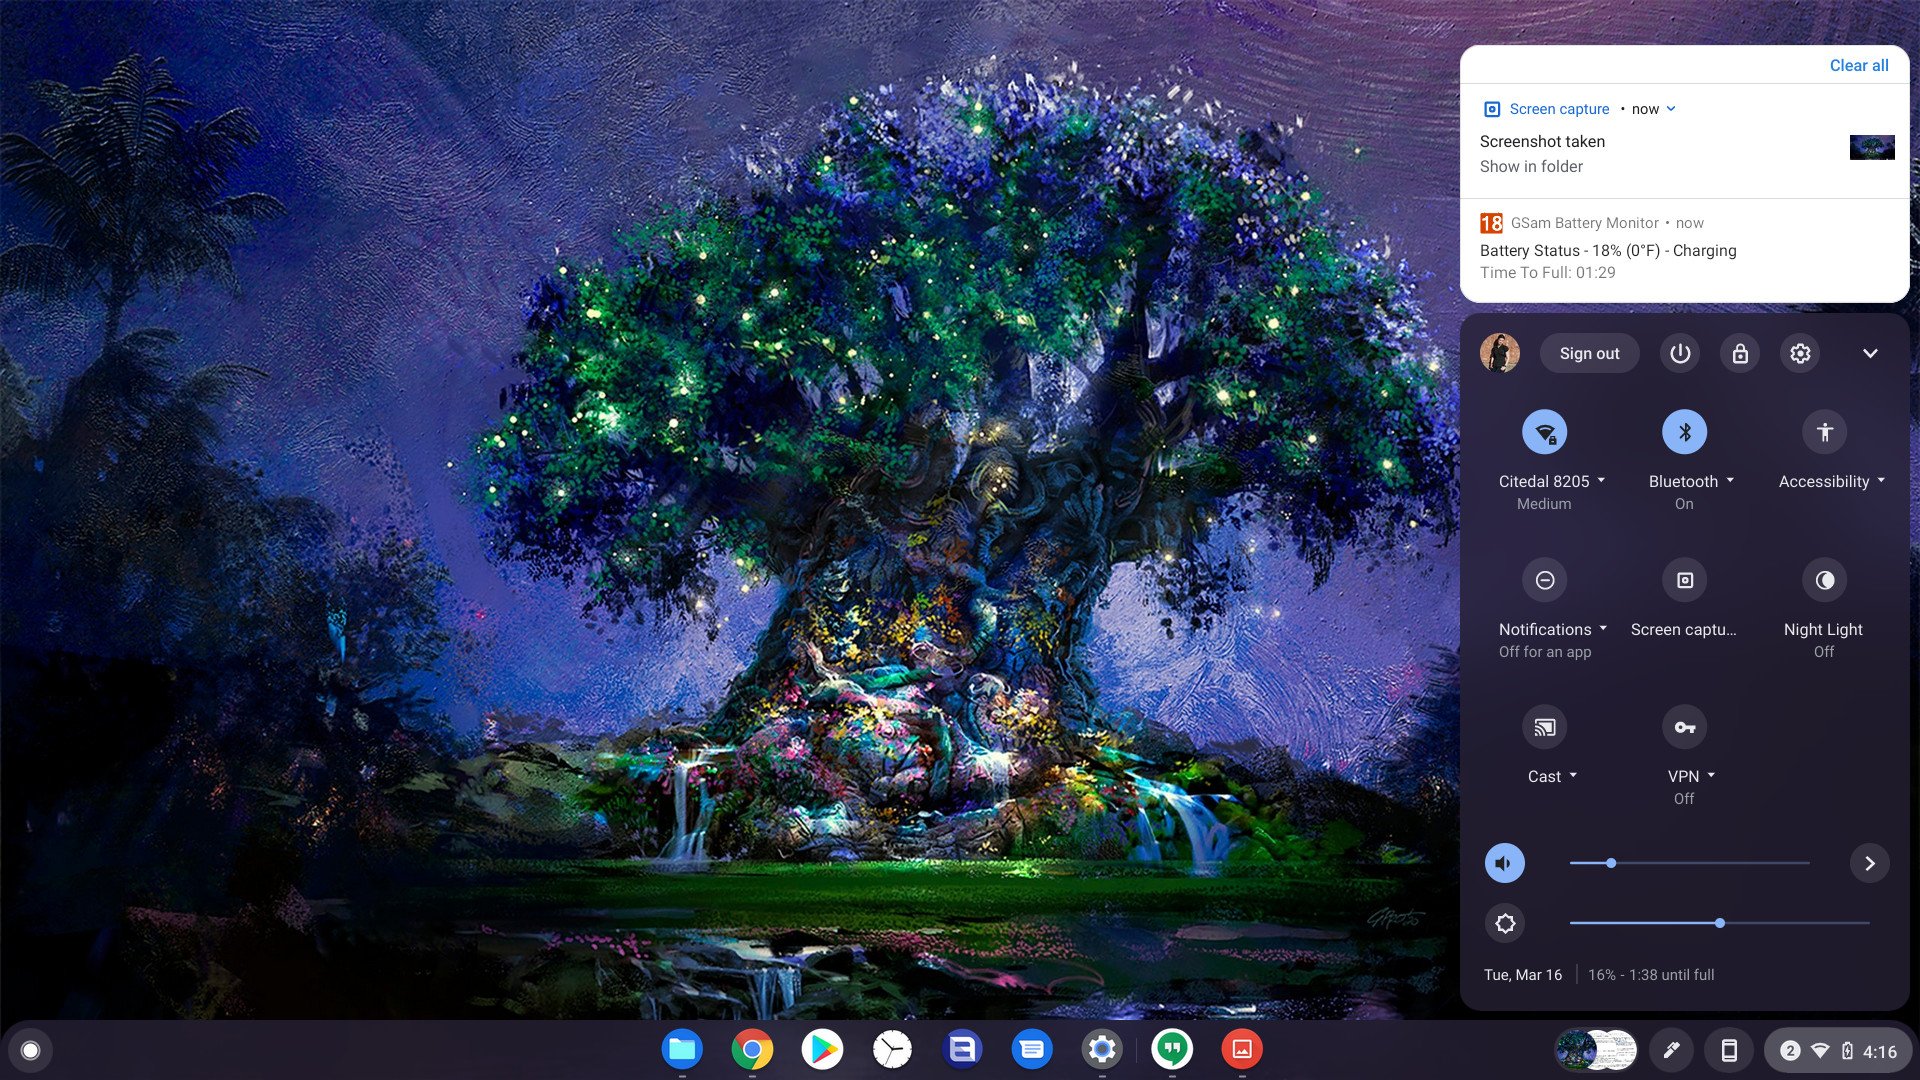
Tap the time in the bottom-right corner of the screen.
-
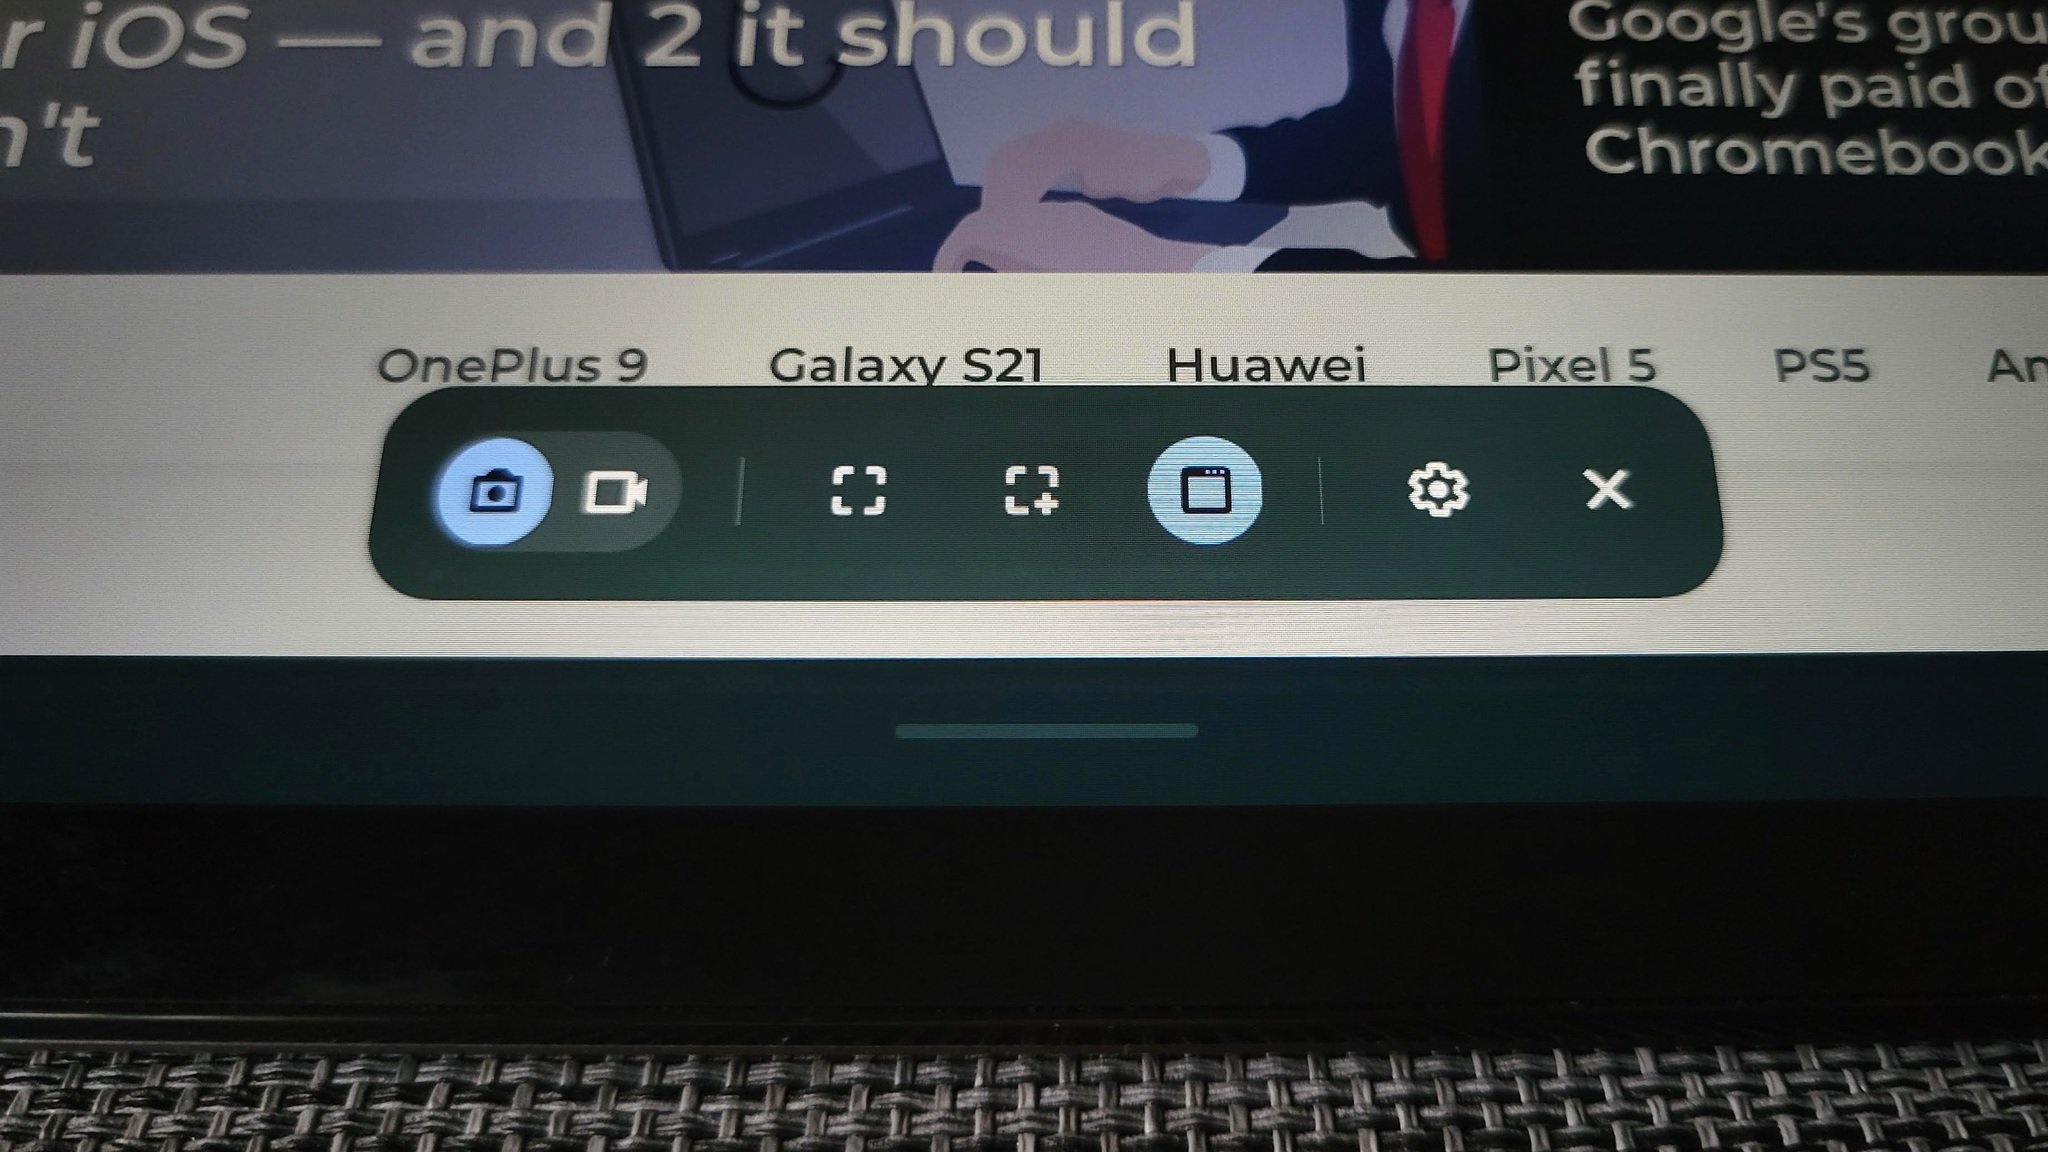
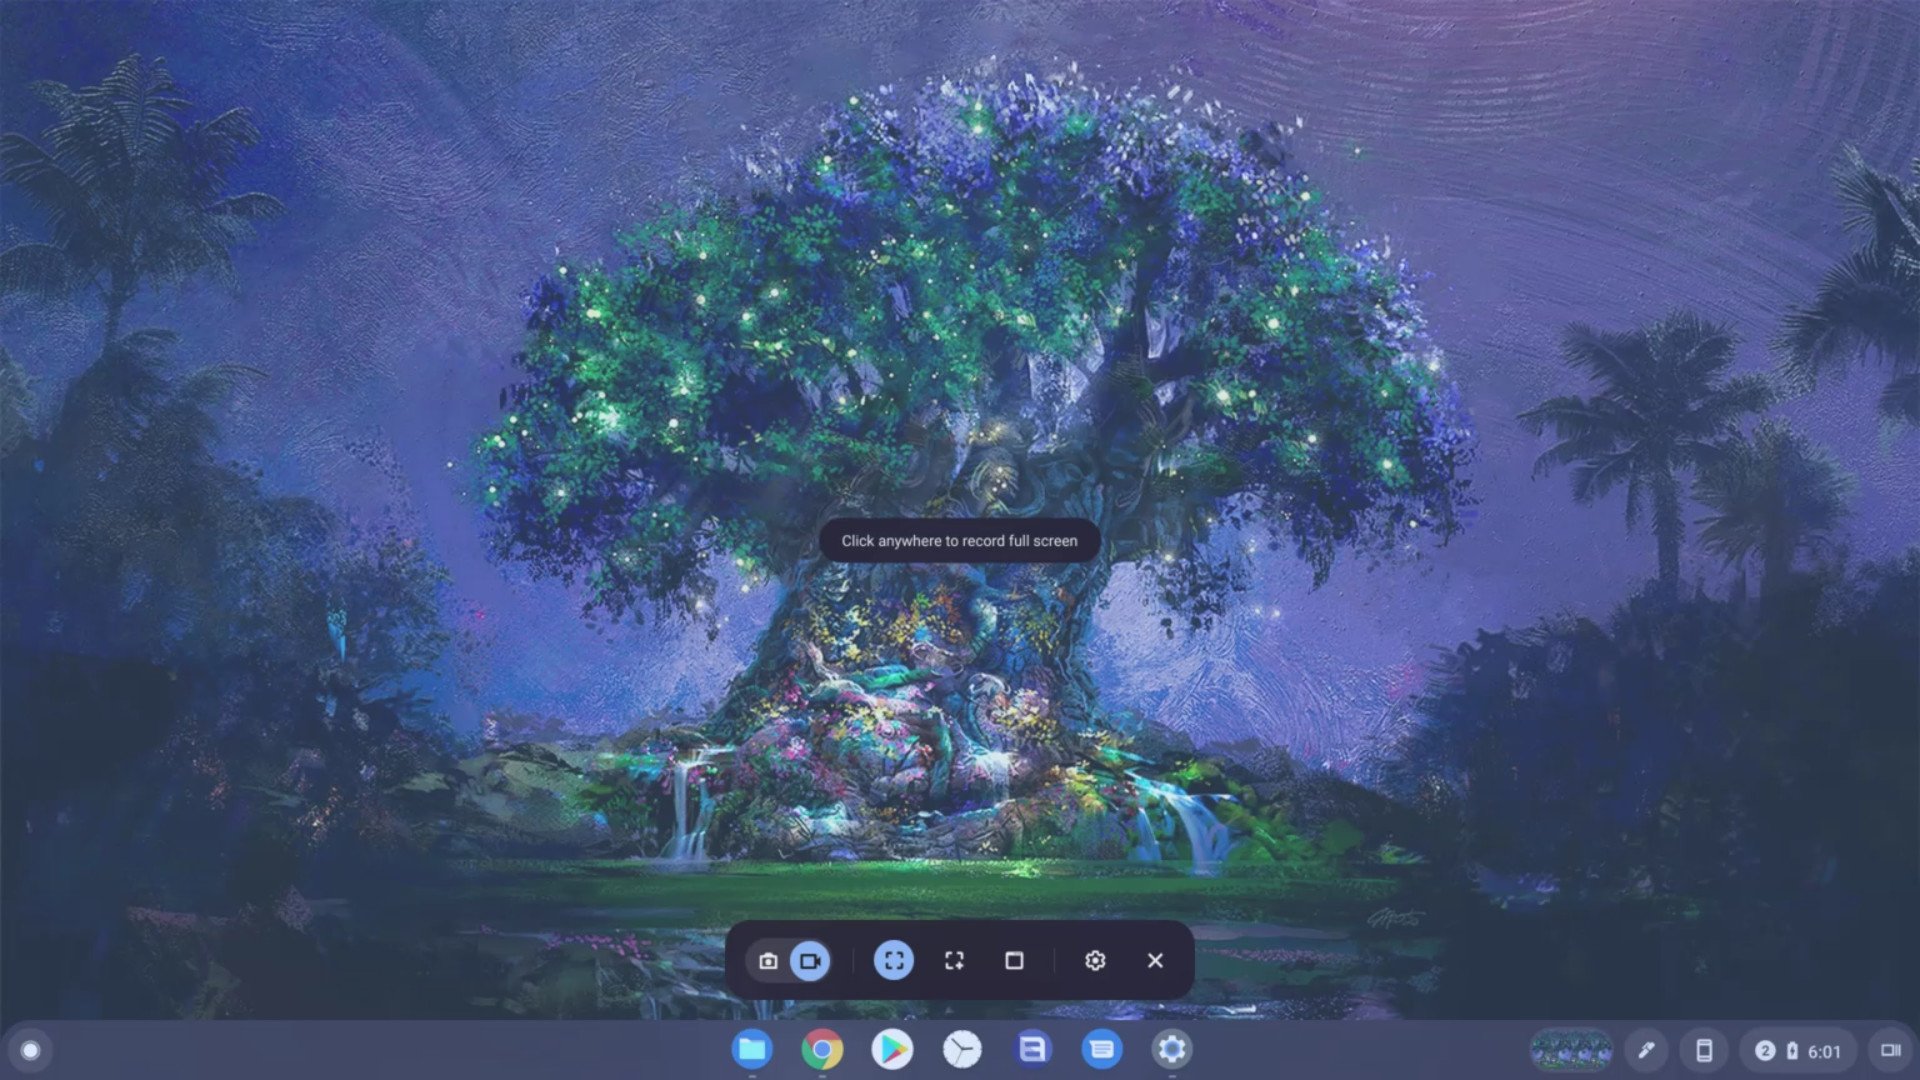
Tap Screen capture in the Quick Settings toggles. (Or press Ctrl + Alt + Overview (looks like []||) from any screen.
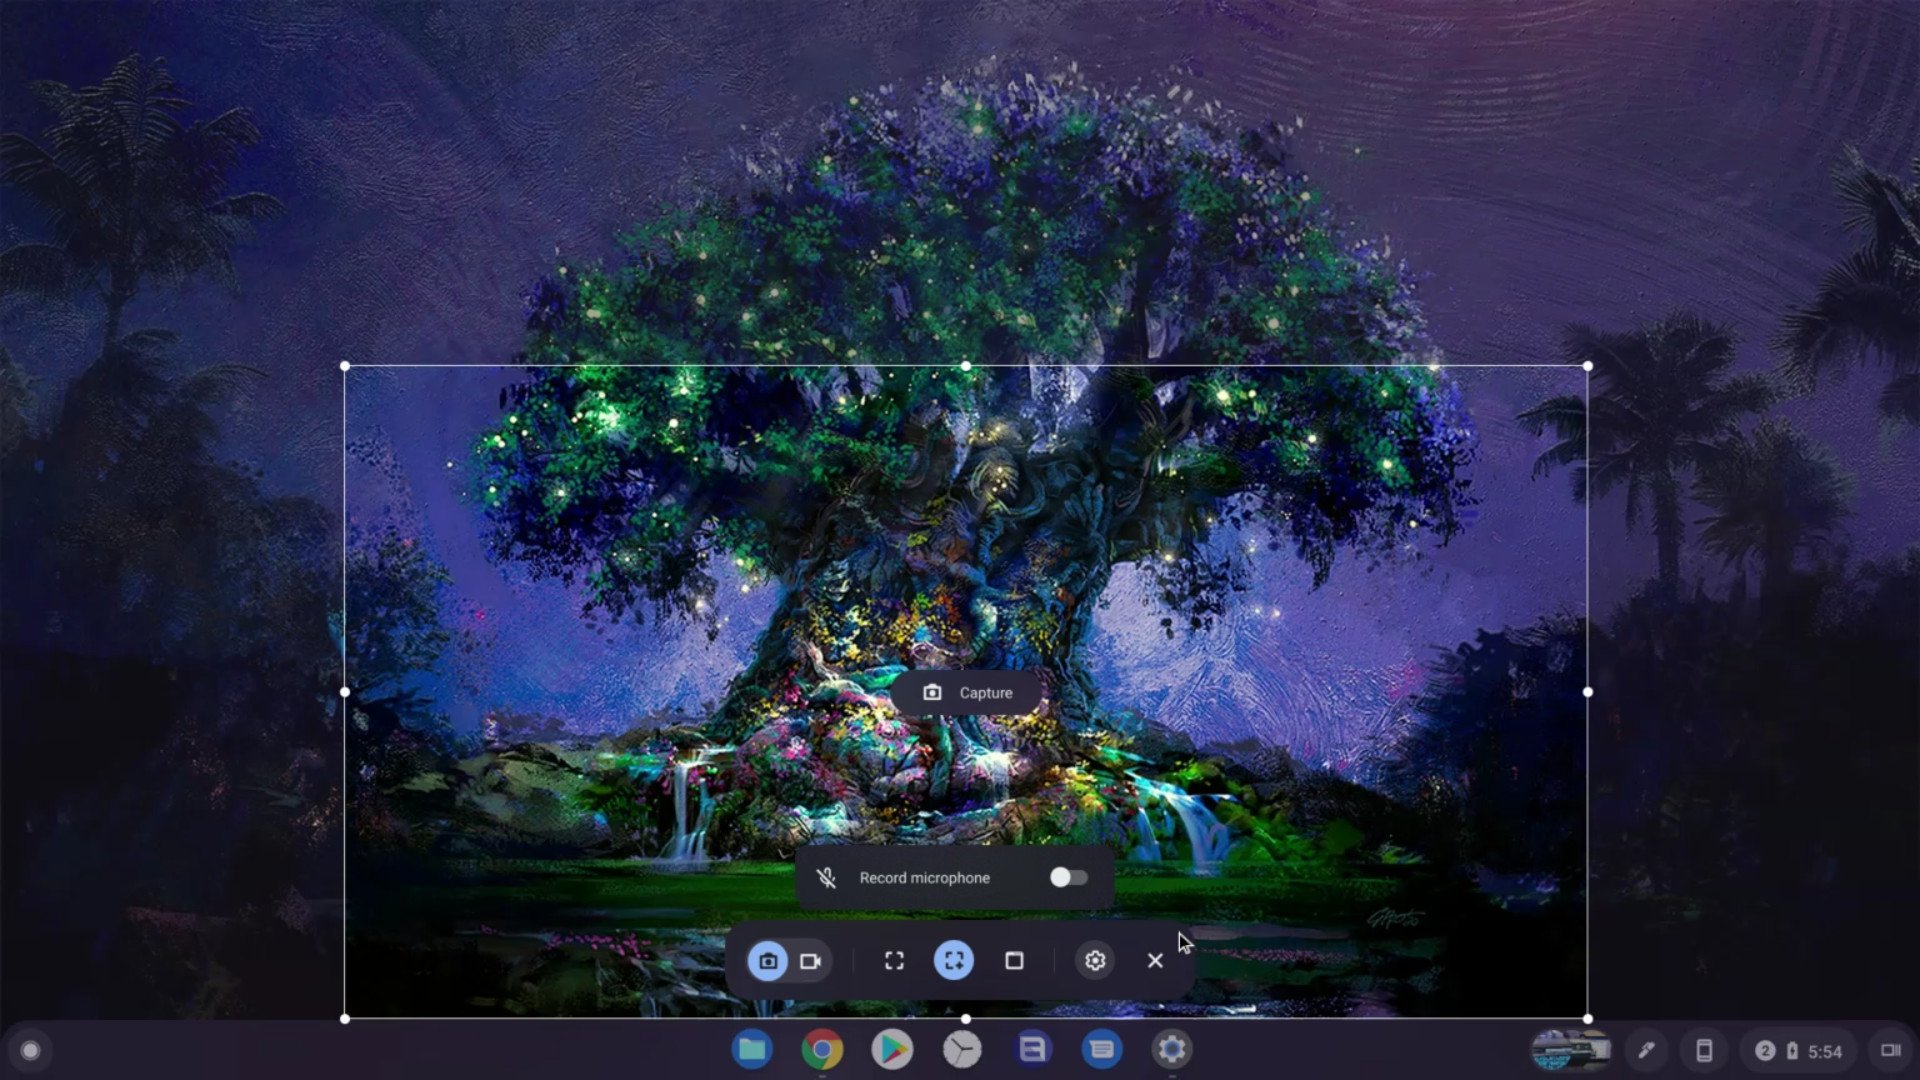
- Tap the camera toggle on the left-hand side of the Screen capture bar.
- If you want to record your microphone, tap the settings gear on the right side of the bar.
-
Tap record microphone to toggle it on.
- To take a fullscreen capture, tap the plain rectangle next to the camera toggle.
-
Tap anywhere on the screen to begin recording after a 3-second countdown.
-
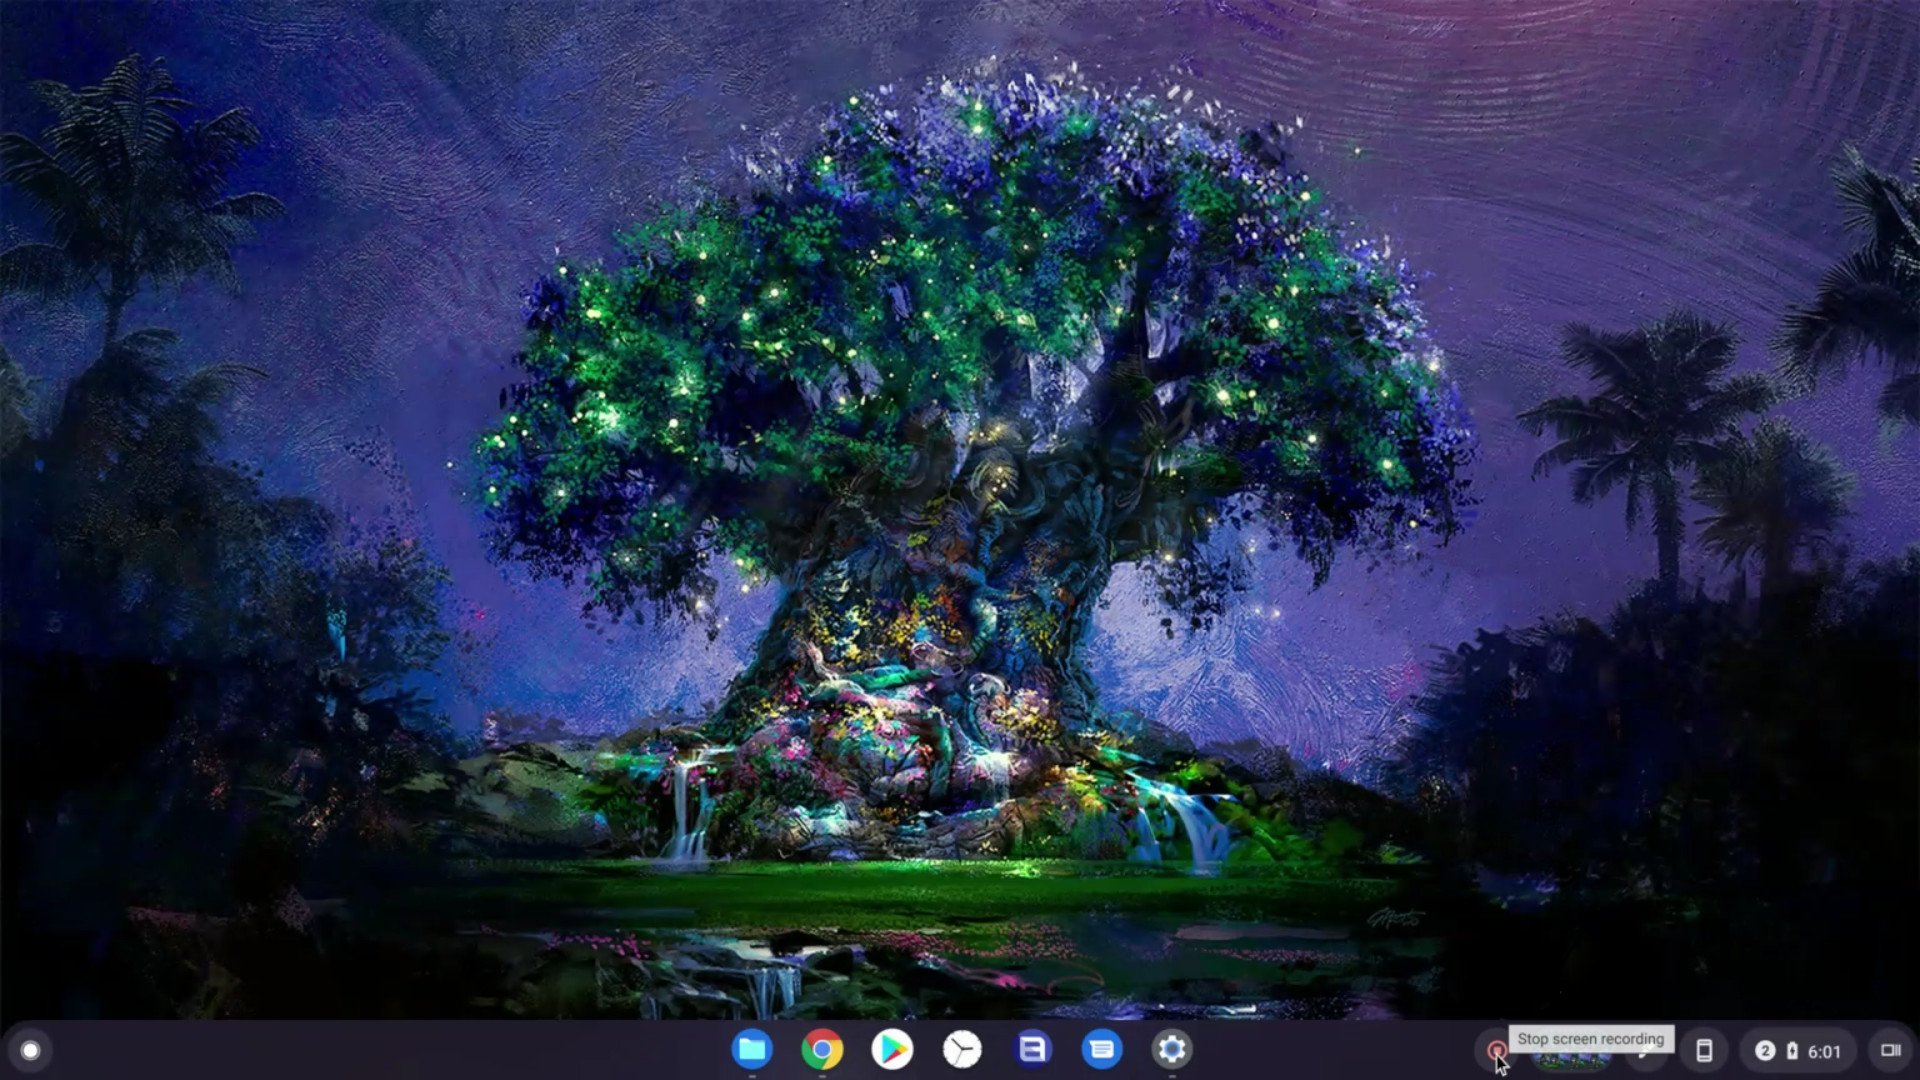
To end your recording, tap the red stop icon in the dock next to the Totes document hub.
A notification will appear acknowledging the new recording in your Downloads folder and giving you a quick action to delete the video if you recorded it by accident. Chrome OS's screen capture is a basic recorder, but for 90% of us, that'll be enough, but if you need something with more options and tools, consider Screencastify, which has both free and paid versions depending on how many of its features you need.
What to do with your screen recording
Currently, Chrome OS screen recordings are encoded as WebM videos, which is a free video format that Google sponsored the development of. It's free and widely compatible with most web platforms since it's royalty-free and was designed as an alternative to HTML5 media formats. In some rare instances where .webM files are not supported by a site, you can easily convert them over to .mp4 using free online services like CloudConvert, but for basic editing and sharing, no conversion is required.
Google Photos is one of the pre-installed Android apps on Chromebooks for a couple of reasons, but the most important one is that the web Google Photos editor doesn't support video editing yet; only the Android and iOS apps do. If you need to edit your screen recording, we have a lovely in-depth guide to using Google Photos' video editor that you can bookmark for use. You won't need to use stabilization or color correction since screen recordings aren't shot on a camera that tilts. Still, it's good for extracting screenshots, trimming off the beginning or end, and adding a basic annotation or two.
If you run into "Problem loading video" issues with the local copy, upload your screen recording to Google Photos using the Upload button at the top of the app. This will let you edit it from your phone if you're in a hurry — and it will make the video easier to share as you can just use the Google Photos link to share your screen recording anywhere.
I'm hoping Chrome OS eventually gets the option to save recordings as .mp4 instead of .webM, but for now, I'm just happy to have a Chrome OS screen recorder that's built-in and can be activated in two clicks when a website is glitching — or when Chrome OS itself is.

Post a Comment